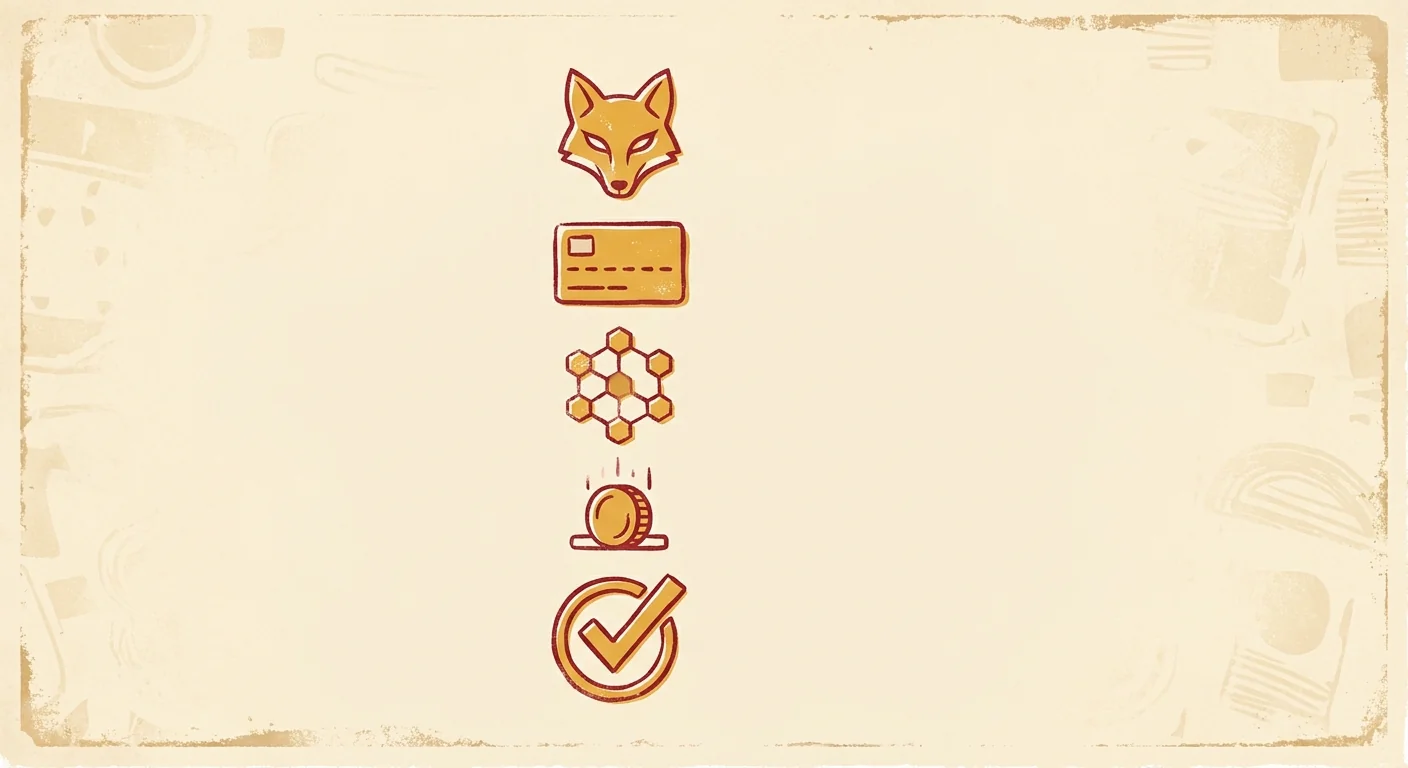
Setting up a new wallet is the moment where most beginners pick up bad habits that follow them for years. This walk-through covers the whole first sit-down: install, seed phrase, add the Polygon network, fund the wallet, and do one small test transaction. Nothing skipped, nothing rushed.
Install MetaMask from the real source
The single most dangerous step is downloading a fake wallet. Fake MetaMask extensions and apps have been on stores repeatedly, sometimes ranked above the real one in search results.
The safe path:
- Type metamask.io into the address bar yourself. Do not click an ad or a search result.
- Use the Download link on that page. It routes you to the real listing on your browser's official extension store or your phone's app store.
- Verify the publisher matches MetaMask before installing. On mobile, check the number of reviews looks like a real app with tens of millions.
Getting this one step right removes a large share of possible mistakes for the whole life of the wallet.
Create the wallet and save the seed phrase
Once MetaMask is installed, open it and choose Create a new wallet. Set a strong password — this only unlocks the app on this device, so it does not need to be memorable, only strong. Use a password manager.
Now the wallet shows a 12-word seed phrase. This phrase is the wallet. Anyone who reads it can restore the wallet on any device and take everything. Write it on paper — two copies, kept in two safe places, never in a photo, never in a note app, never in an email. Then verify the phrase by clicking the words in order when the app asks.
Two things to promise yourself here:
- You will never type the phrase into a website, an email, or a chat.
- You will never send the phrase to anyone, not even MetaMask support, because real support never asks.
For where this wallet fits in the wider picture of hot and cold storage, see hot wallets vs cold wallets: where should your crypto sleep.
Add the Polygon network
MetaMask opens on Ethereum Mainnet by default. To use Polygon, you have to add the network. Recent MetaMask versions offer common networks as one-click adds, but always verify the chain ID before saving.
The values you should see:
| Field | Value |
|---|---|
| Network name | Polygon Mainnet |
| RPC URL | The RPC listed in Polygon's own docs |
| Chain ID | 137 |
| Currency symbol | MATIC (or POL, depending on your app version) |
| Block explorer | Polygonscan URL from the same docs |
Save, then switch to Polygon Mainnet from the network dropdown. Our short companion guide is at how to add polygon to MetaMask, step by step.
Fund the wallet safely
A wallet with no MATIC cannot pay for anything. Three ways to top up:
- Exchange withdrawal. Buy a small amount of MATIC on a reputable exchange and withdraw to the wallet on the Polygon network. Send around five to twenty MATIC to start. The exchange withdrawal fee is often larger than the transfer itself.
- Bridge from Ethereum. If you already have funds on Ethereum, bridge stablecoins to Polygon through a well-known bridge. Some bridges credit a small MATIC drip along with your stablecoin arrival.
- Small legitimate drip. If you need only enough to pay one first-transaction fee, some services drip a fraction of a MATIC to new addresses. See matic polygon mainnet faucet for what those look like.
Always verify the receiving address by copy-paste inside the exchange, and always send a tiny test amount first when the transfer is large.
Do one small test transaction
Before trusting the wallet with anything important, do one small transaction. Send a fraction of a MATIC from the new wallet to another address you control (or to a friend, then back). Watch the transaction on Polygonscan. Confirm the balance updates. This is how you learn what fees feel like on Polygon and prove the wallet is set up correctly.
Once the test passes, the wallet is ready for real use — swaps on Polygon DEXs, holding stablecoins, minting NFTs, trying dApps. When you decide to hold larger balances, plan the move to cold storage from the start. Our page on hot wallet vs cold wallet covers that transition.
One clean first sitting, and you are done
Install from the real source. Save the seed phrase on paper. Add Polygon with correct settings from Polygon's own docs. Fund with a small amount of MATIC through a proper channel. Do one small test transaction. That is the whole opening move, and doing it in one calm sitting saves you every kind of trouble that comes from setting up a wallet in a hurry. Everything you do next builds on those five steps — do them once, do them right, and forget about them.